Step-by-Step Video Guide on Building a 6 x 4 Garden Shed
Garden sheds are a valuable addition to any outdoor space. They provide storage and workspace for gardening tools, outdoor equipment, and DIY projects. If you’re looking to build your own garden shed, you’ve come to the right place. In this step-by-step video guide, I will walk you through the process of building a 6 x 4 garden shed from scratch. Whether you’re a DIY enthusiast or a beginner, this guide will provide you with all the necessary tips and techniques to successfully build your own shed.
Key Takeaways:
- Building a garden shed can be an affordable and rewarding DIY project.
- Proper preparation of the shed area and base is crucial for a sturdy and long-lasting structure.
- Choosing the right materials and following the step-by-step instructions is essential for successful shed construction.
- Adding finishing touches like windows, trims, and fascia boards can enhance the appearance of your garden shed.
- Take into consideration any planning permissions and consult shed building regulations in your area.
Prepare Your Area and Base
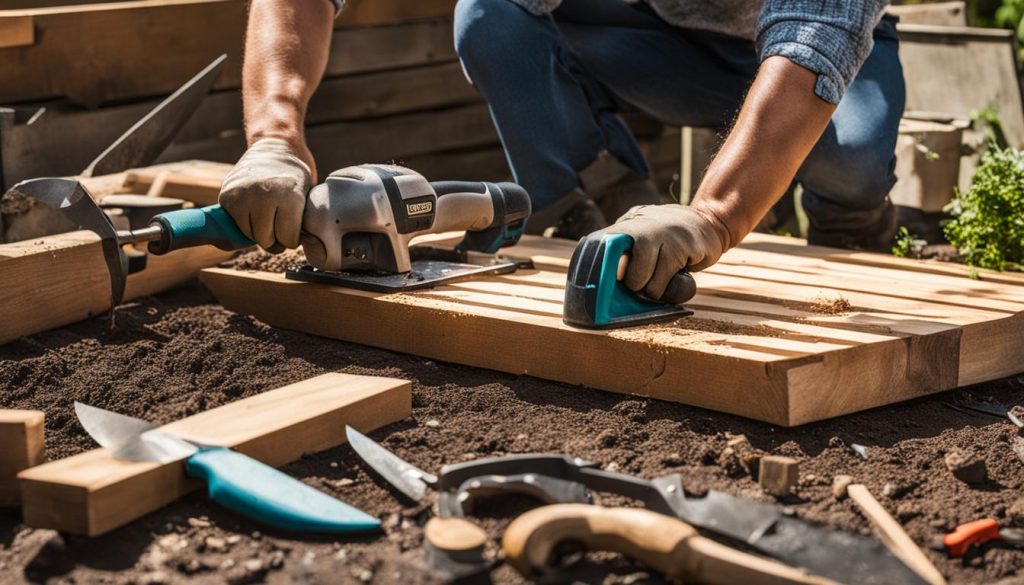
When embarking on the journey of building a garden shed, it’s essential to start with a solid foundation. Taking the time to prepare the area and base properly will ensure a sturdy and durable structure that will withstand the test of time.
The first step is to clear the designated area of any debris, vegetation, or obstacles. This will create a clean canvas for the shed and prevent any unwanted growth or interference in the future. Next, it’s important to level the ground to ensure a stable base. This can be achieved by removing excess soil or adding gravel to create a flat surface.
Once the ground is level, you can choose the appropriate type of base material for your shed. Timber bases are a popular option for their cost-effectiveness and flexibility. They can be easily constructed using pressure-treated timber and provide a sturdy support system. Alternatively, a concrete base offers maximum stability and durability. It requires more preparation and labor but ensures a solid foundation for your shed.
Ensuring Adequate Space
In addition to preparing the base, it’s important to consider the space around the shed. Leave enough room for easy access and maintenance, allowing for comfortable movement around the structure. This space will also provide ventilation to prevent moisture buildup, which can lead to damage over time. Take into account any neighboring structures, trees, or fences that may impact the shed’s placement and functionality.
By thoroughly preparing the area and base, you’re setting the foundation for a successful shed construction project. It may seem like a small step, but it will make a significant difference in the overall stability and longevity of your garden shed.
| Materials | Pros | Cons |
|---|---|---|
| Timber Base | Cost-effective, easily constructed | May require more maintenance |
| Concrete Base | Maximum stability, durable | More expensive and labor-intensive |
Build the Shed Body
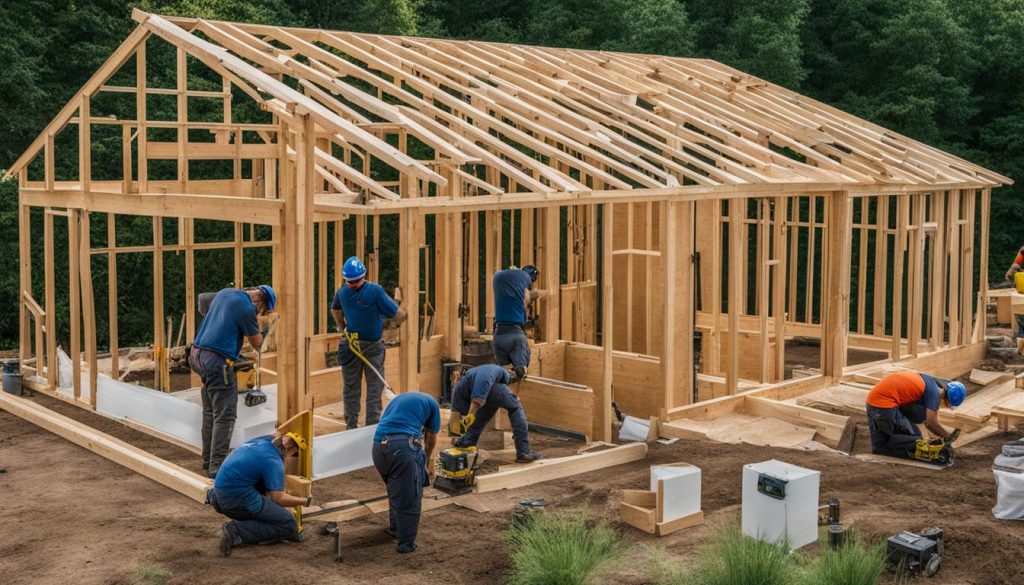
In this section, I will guide you through the process of building the main structure of your garden shed. Building the shed body is an essential step in the construction process, as it provides the foundation for the entire structure. By following the steps outlined below, you’ll be on your way to creating a sturdy and durable shed that will stand the test of time.
Constructing the Shed Walls
The first step in building the shed body is assembling the shed walls. Start by laying out the wall panels according to the shed’s dimensions. Use a spirit level to check that the panels are plumb and level before securing them together with screws or nails. It’s important to ensure that the walls are square, so measure the diagonals to confirm they’re equal in length. Once the walls are fully assembled, reinforce the corners with additional framing for added stability.
Building the Shed Floor
Now that the shed walls are in place, it’s time to construct the shed floor. Start by preparing the area where the shed will be located, ensuring that it’s level and free from any debris. Depending on your preference, you can build the floor using timber joists or a concrete base. If using timber joists, lay them out on the prepared area, ensuring they’re evenly spaced and securely fixed. Alternatively, if you opt for a concrete base, pour the concrete into the designated area and level it with a trowel. Allow the floor to fully cure before proceeding to the next step.
Installing the Shed Doors
Finally, it’s time to install the shed doors. Start by framing the door opening and ensure that it’s plumb and level. Then, attach the door hinges to the shed frame, making sure they’re properly aligned. Hang the doors on the hinges and check that they open and close smoothly. Secure the doors with appropriate hardware, such as handles and locks, to ensure they’re functional and secure. Don’t forget to weatherproof the doors by adding weatherstripping to keep the elements out.
By following these steps, you’ll successfully build the body of your garden shed. Remember to take your time and pay attention to detail to ensure a professional-looking result. In the next section, we’ll discuss how to construct the shed roof, bringing us one step closer to completing our garden shed project.
Construct the Roof
To complete the construction of your garden shed, it’s important to focus on building a sturdy and weatherproof roof. The roof provides essential protection against rain, snow, and other elements, ensuring the longevity and durability of your shed. In this section, I will guide you through the process of shed roof construction, including the installation of roof panels, framing, and the use of roofing felt.
Shed Roof Panels
The first step in constructing the roof is to install the shed roof panels. These panels should be securely attached to the shed body, creating a tight seal to prevent any water infiltration. Choose roof panels that are designed specifically for sheds, as they are lightweight yet durable. Ensure that the panels are properly aligned, allowing for adequate drainage and preventing water pooling on the roof.
Roof Framing
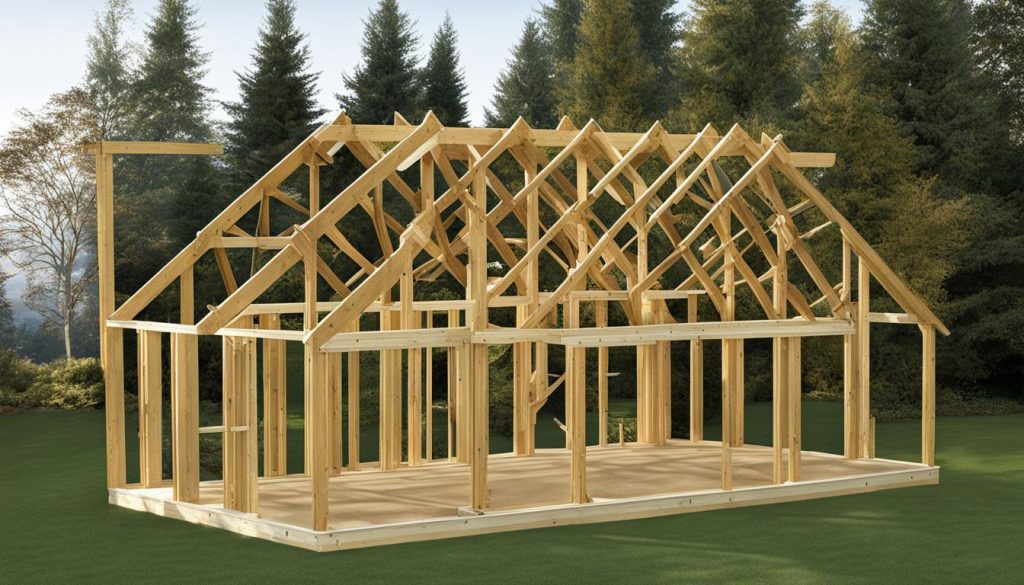
Next, you’ll need to construct the roof framing. This involves building the structure that will support the roof panels. The type of framing will depend on the design and size of your shed. Common options include trusses or rafters. Ensure that the framing is strong and stable, as it will bear the weight of the roof panels. Properly secure the framing to the shed body, using screws or nails for a secure fit.
Roofing Felt
To provide additional protection against moisture, it’s essential to install roofing felt. Roofing felt is a water-resistant material that acts as a barrier between the roof panels and the elements. It helps to prevent leaks and adds an extra layer of insulation. Lay the roofing felt over the roof panels, ensuring that it covers the entire surface. Secure it in place using staples or roofing nails. Trim any excess felt for a neat and professional finish.
By following these steps, you’ll be able to construct a solid and reliable roof for your garden shed. Remember to choose high-quality materials and pay attention to details to ensure a long-lasting and functional structure.

Add the Finishing Touches
Once the shed body and roof are constructed, it’s time to add those final touches that will elevate the look and functionality of your garden shed. These finishing touches will not only enhance the aesthetics but also provide practical benefits. Let’s explore some of the key elements to consider.
Shed Windows
Adding windows to your shed not only allows natural light to enter but also creates a more welcoming and pleasant space. Consider installing windows on the sides or front of the shed, depending on your preference and the shed’s orientation. Double-glazed windows provide insulation, keeping the shed warm during winter months. They also enhance ventilation, preventing excessive humidity and the buildup of mold.
Shed Trims and Fascia Boards
Finishing trims and fascia boards are essential for creating a neat and polished appearance for your shed. They cover the edges and corners of the shed, providing protection against moisture and helping to prevent any potential damage. Opt for durable materials such as PVC or pressure-treated timber to ensure longevity. Choose trims and fascia boards that complement the shed’s design and color scheme, creating a cohesive and visually appealing look.
Shed Finials
Add a touch of charm and sophistication to your shed by incorporating finials. These decorative elements are often installed at the apex of the shed’s roof or on top of the gable ends. Finials come in various shapes and sizes, allowing you to choose the style that best suits your shed’s aesthetic. Whether you prefer a classic and ornate design or a more minimalist and modern look, finials are sure to add that final flourish to your garden shed.
| Finishing Touch | Benefits |
|---|---|
| Shed Windows | 1. Provides natural light and ventilation2. Enhances the overall aesthetic appeal3. Offers insulation for temperature control |
| Shed Trims and Fascia Boards | 1. Provides protection against moisture2. Creates a neat and finished look3. Adds durability to the shed’s structure |
| Shed Finials | 1. Adds decorative charm and visual interest2. Enhances the shed’s roofline3. Completes the overall look of the shed |
By incorporating these finishing touches, your garden shed will not only be a highly functional storage space but also a visually appealing feature in your outdoor area. Consider your personal style and the overall landscape when selecting these elements to create a shed that seamlessly blends with its surroundings.
Next, we’ll dive into a comprehensive guide on shed building tips and the best materials to use for your DIY project. Stay tuned for expert advice and insights!
Shed Building Tips and Materials
Building a garden shed can be a rewarding project that adds both functionality and aesthetic appeal to your outdoor space. Whether you’re a DIY enthusiast or a beginner in construction, here are some helpful shed building tips and materials to guide you through the process.
Shed Building Tips
- Start with a well-thought-out plan: A clear and detailed shed plan will ensure that you have a step-by-step guide to follow throughout the construction process. It will help you determine the size, design, and layout of your shed, as well as the materials and tools needed.
- Choose the right location: Consider factors such as sunlight exposure, accessibility, and the overall landscape of your garden when deciding where to build your shed. Ensure that it’s placed on a solid, level base to prevent any structural issues in the future.
- Use quality building materials: Opt for durable and weather-resistant materials that will withstand the test of time. Pressure-treated timber, galvanized nails, and high-quality roofing materials are essential for a long-lasting shed.
- Follow safety precautions: Prioritize safety by wearing protective gear such as goggles, gloves, and a dust mask when working with power tools and handling construction materials. Take your time and proceed with caution to avoid accidents.
- Add personal touches: Customizing your shed with unique features like windows, decorative trims, and paint can elevate its visual appeal. It’s an opportunity to showcase your creativity and make your shed blend seamlessly with your garden.
Recommended Shed Building Materials
Choosing the right shed building materials is crucial for constructing a sturdy and functional shed. Here are some recommended options:
| Material | Advantages |
|---|---|
| Pressure-treated timber | Resistant to rot, decay, and insect damage |
| Galvanized steel | Durable and low-maintenance |
| Corrugated metal roofing | Excellent weather resistance |
| PVC or composite cladding | Long-lasting and easy to clean |
| Glass or polycarbonate windows | Allows natural light into the shed |
These materials offer both aesthetic appeal and functional benefits, ensuring that your shed stands the test of time.
By following these shed building tips and using quality materials, you can create a garden shed that suits your needs and enhances your outdoor space. Remember to plan carefully, prioritize safety, and unleash your creativity for a successful DIY shed building project.

Building a Shed from Scratch: FAQs
As you embark on your shed building journey, you’re likely to have some questions. In this section, I’ll address the most frequently asked questions related to building a shed from scratch. Let’s dive in!
Is it cheaper to build your own shed?
One of the benefits of building a shed from scratch is the potential cost savings compared to buying a pre-built one. By sourcing your own materials and doing the labor yourself, you can significantly reduce the overall cost. Additionally, you have more freedom to choose affordable yet durable materials that fit your budget. However, it’s important to note that the cost will depend on factors such as shed size, design complexity, and the quality of materials you choose.
Should I insulate my shed?
Whether or not you should insulate your shed depends on its intended use. If you plan to use the shed as a workshop, office, or storage space for temperature-sensitive items, insulation is highly recommended. Insulation helps regulate the temperature inside the shed, keeping it warm in the winter and cool in the summer. It also helps prevent condensation, which can lead to moisture-related issues. Consider insulating the walls, roof, and floor of your shed for optimal comfort and protection.
Do I need planning permission to build a garden shed?
In the UK, most garden sheds do not require planning permission as long as they meet certain criteria. Generally, if your shed is less than 2.5 meters tall and is not located in front of the principal elevation of your house, you should not need planning permission. However, it’s always recommended to check with your local planning authority to ensure compliance with any specific regulations or restrictions in your area.
What tools do I need for shed building?
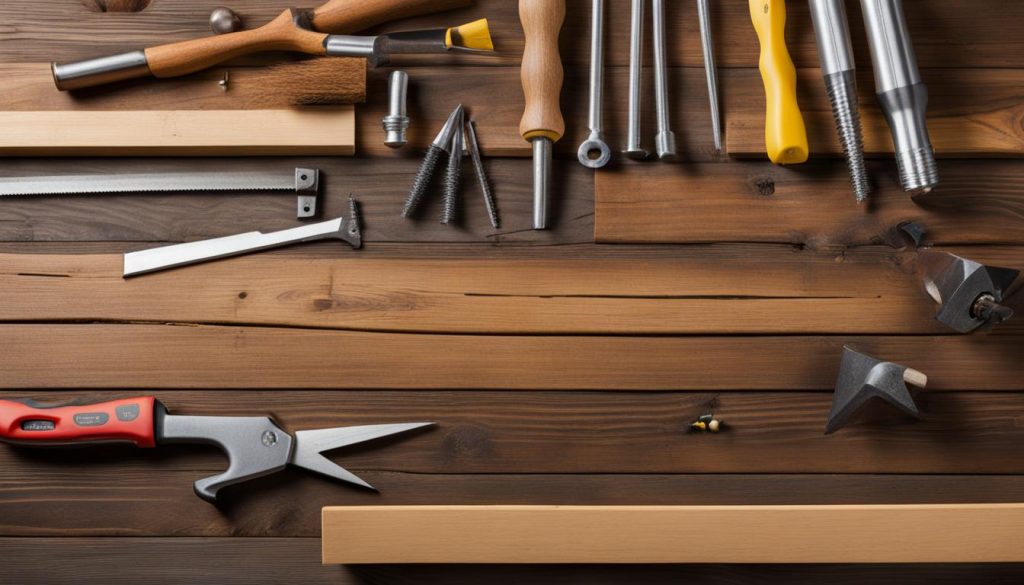
Building a shed requires a basic set of tools to get the job done. Some essential tools include a tape measure, hammer, circular saw or miter saw, power drill, level, screwdriver set, and a ladder. Depending on the complexity of your shed design, you may also need additional tools such as a nail gun, angle grinder, or a router. Before starting your project, review the shed plans and make a checklist of the necessary tools to ensure you have everything you need.
What is the estimated cost of building a shed?
The cost of building a shed can vary depending on various factors such as size, materials, design complexity, and location. On average, a small to medium-sized shed can cost between £500 and £2,000 to build. However, it’s important to carefully consider the cost of materials, permits (if required), and any additional features or accessories you plan to include. Research local prices and create a budget to help estimate the cost of your shed building project.
| Item | Average Cost (GBP) |
|---|---|
| Materials (varies based on size and quality) | 500 – 1,500 |
| Permits (if required) | Varies by location |
| Foundation | 50 – 300 |
| Roofing | 100 – 500 |
| Doors and Windows | 100 – 400 |
| Additional Features (e.g., electrical, shelving) | Varies based on requirements |
Now that we’ve addressed these common questions, you’re better equipped to tackle your shed building project. Remember to plan carefully, choose the right materials, and follow proper construction techniques. Happy building!

Conclusion
As we reach the end of this guide, I hope you’re feeling inspired and ready to embark on your own shed building journey. Building a garden shed from scratch offers numerous benefits, from cost savings to the satisfaction of creating something with your own hands.
Shed construction doesn’t have to be complicated; with the step-by-step video guide and tips provided, you’ll have all the knowledge you need to successfully complete your project. Whether you’re a beginner or an experienced DIY enthusiast, building your own shed is an achievable and rewarding endeavor.
One of the greatest advantages of DIY shed building is the ability to customize the design to fit your specific needs and preferences. From choosing the materials and colors to deciding on the size and layout, you have full control over the final result. Create a garden shed that not only serves its practical purpose but also enhances the overall aesthetics of your outdoor space.
So why wait? Take the plunge and start building your dream garden shed today. With the help of this guide, you’ll have a functional, stylish, and personalized shed in no time. Happy building!